How to Take Measurements and Photos Before Your Design Consultation
Most people turn up to a design consultation having done very little preparation — and that’s fine. The designer’s job is to take accurate measurements, assess the space, and translate your storage needs into a workable design. You don’t need to arrive with a floor plan. But if you’ve spent ten minutes doing a bit of groundwork before the visit, the conversation becomes sharper, the design proposals are more specific, and the whole process moves faster.
There’s also a practical reason to understand your own space before anyone else comes to look at it. If you’ve measured the room yourself — even roughly — you have a frame of reference for the design conversation. You know that the window is closer to one wall than the other, that the ceiling drops at the far end, and that the radiator is positioned in a way that might affect the wardrobe depth. That knowledge means you’re not hearing the constraints of your own room for the first time during the consultation. At Humphries Cabinets, the free design visit includes a thorough professional survey — but clients who’ve done some preparation beforehand tend to get more out of the session.
Room Measurements: What You Actually Need
You don’t need professional surveying equipment. A standard tape measure gets you the numbers that matter. Start with the floor dimensions of the room — width and depth — measured at floor level. Measure at multiple points if the room isn’t a perfect rectangle (period properties often aren’t). A wall that measures 3.8 metres at floor level might be 3.75 metres at ceiling height if the wall is not perfectly plumb. Note both.
Measure the ceiling height in multiple places. This matters more in attic rooms and loft conversions where the ceiling slopes, but even in a standard bedroom, the height can vary between the centre of the room and the corners. If there’s a ceiling rose, a cornice, or a picture rail, measure both the full height to the ceiling and the clear height below any fixed element that might affect the wardrobe’s top panel.
Measure anything that will affect the wardrobe position or depth.
Radiators — their width, height, and how far they project from the wall. Window reveals — how deep the reveal is and whether the window opens inward. Skirting board height, which affects how the wardrobe plinth sits at the base. Any visible pipework, electrical sockets, or switches on or near the wardrobe wall. You don’t need to calculate the implications of any of this — just knowing it’s there and noting the dimensions gives the designer a head start.
Photographs: What’s Useful and What Isn’t
A photograph of an empty wall tells a designer relatively little. A photograph taken from the doorway, showing the whole wall including the floor, the ceiling junction, and anything adjacent to the wardrobe position, tells them much more. Shoot from the doorway or from the opposite wall so the full context is visible. Take one shot of each wall in the room, not just the wardrobe wall.
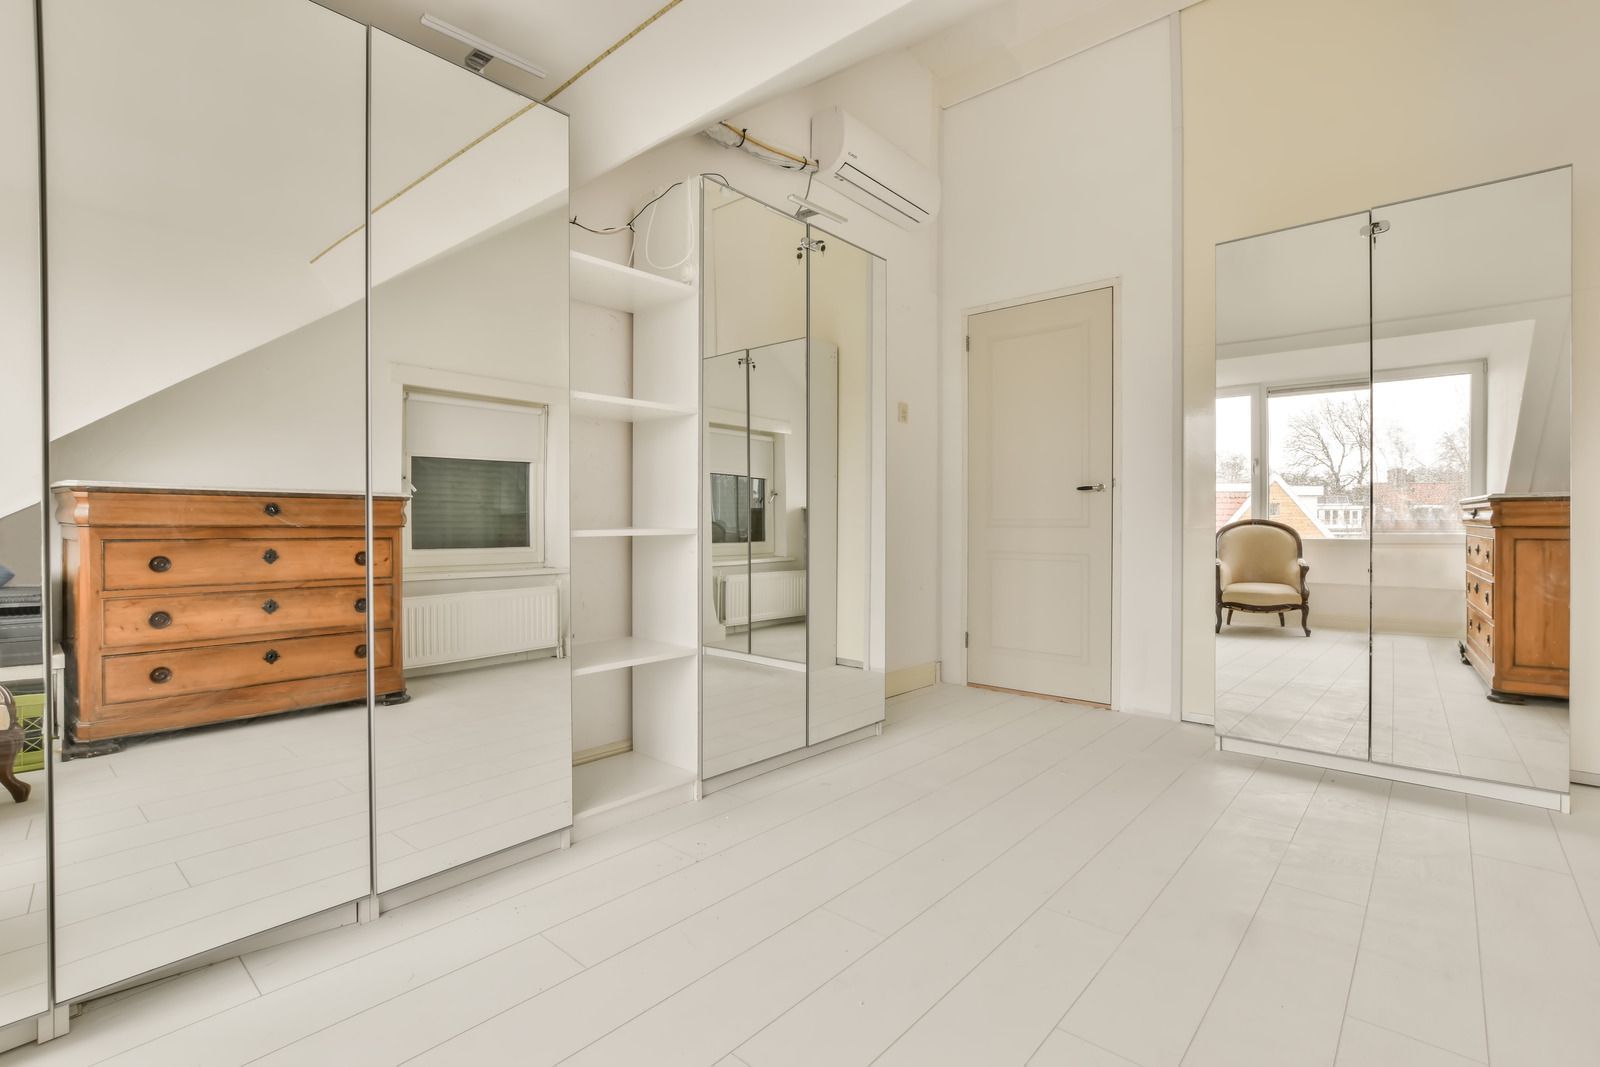
Photographs are most useful for capturing things that are hard to describe in words. The cornice profile in an older property. The exact shape of a chimney breast and how deeply it projects into the room. The positioning of a Velux window in a loft conversion and the angle at which the ceiling begins to slope. A photo of an unusual detail that you’re not sure how to explain is worth more than a long written description of it.
Take a photo of your current storage — whatever it is — and what’s in it. This sounds obvious, but designers find it genuinely useful. Understanding roughly how much you have to store, what categories of items take up most space, and where the current system fails is context that informs the interior layout specification. A photograph of an overflowing wardrobe tells the designer something immediately: that the existing hanging rail length is inadequate, or that there’s no shoe storage, or that the shelf spacing is wrong for folded items.
What to Note About the Room’s Character
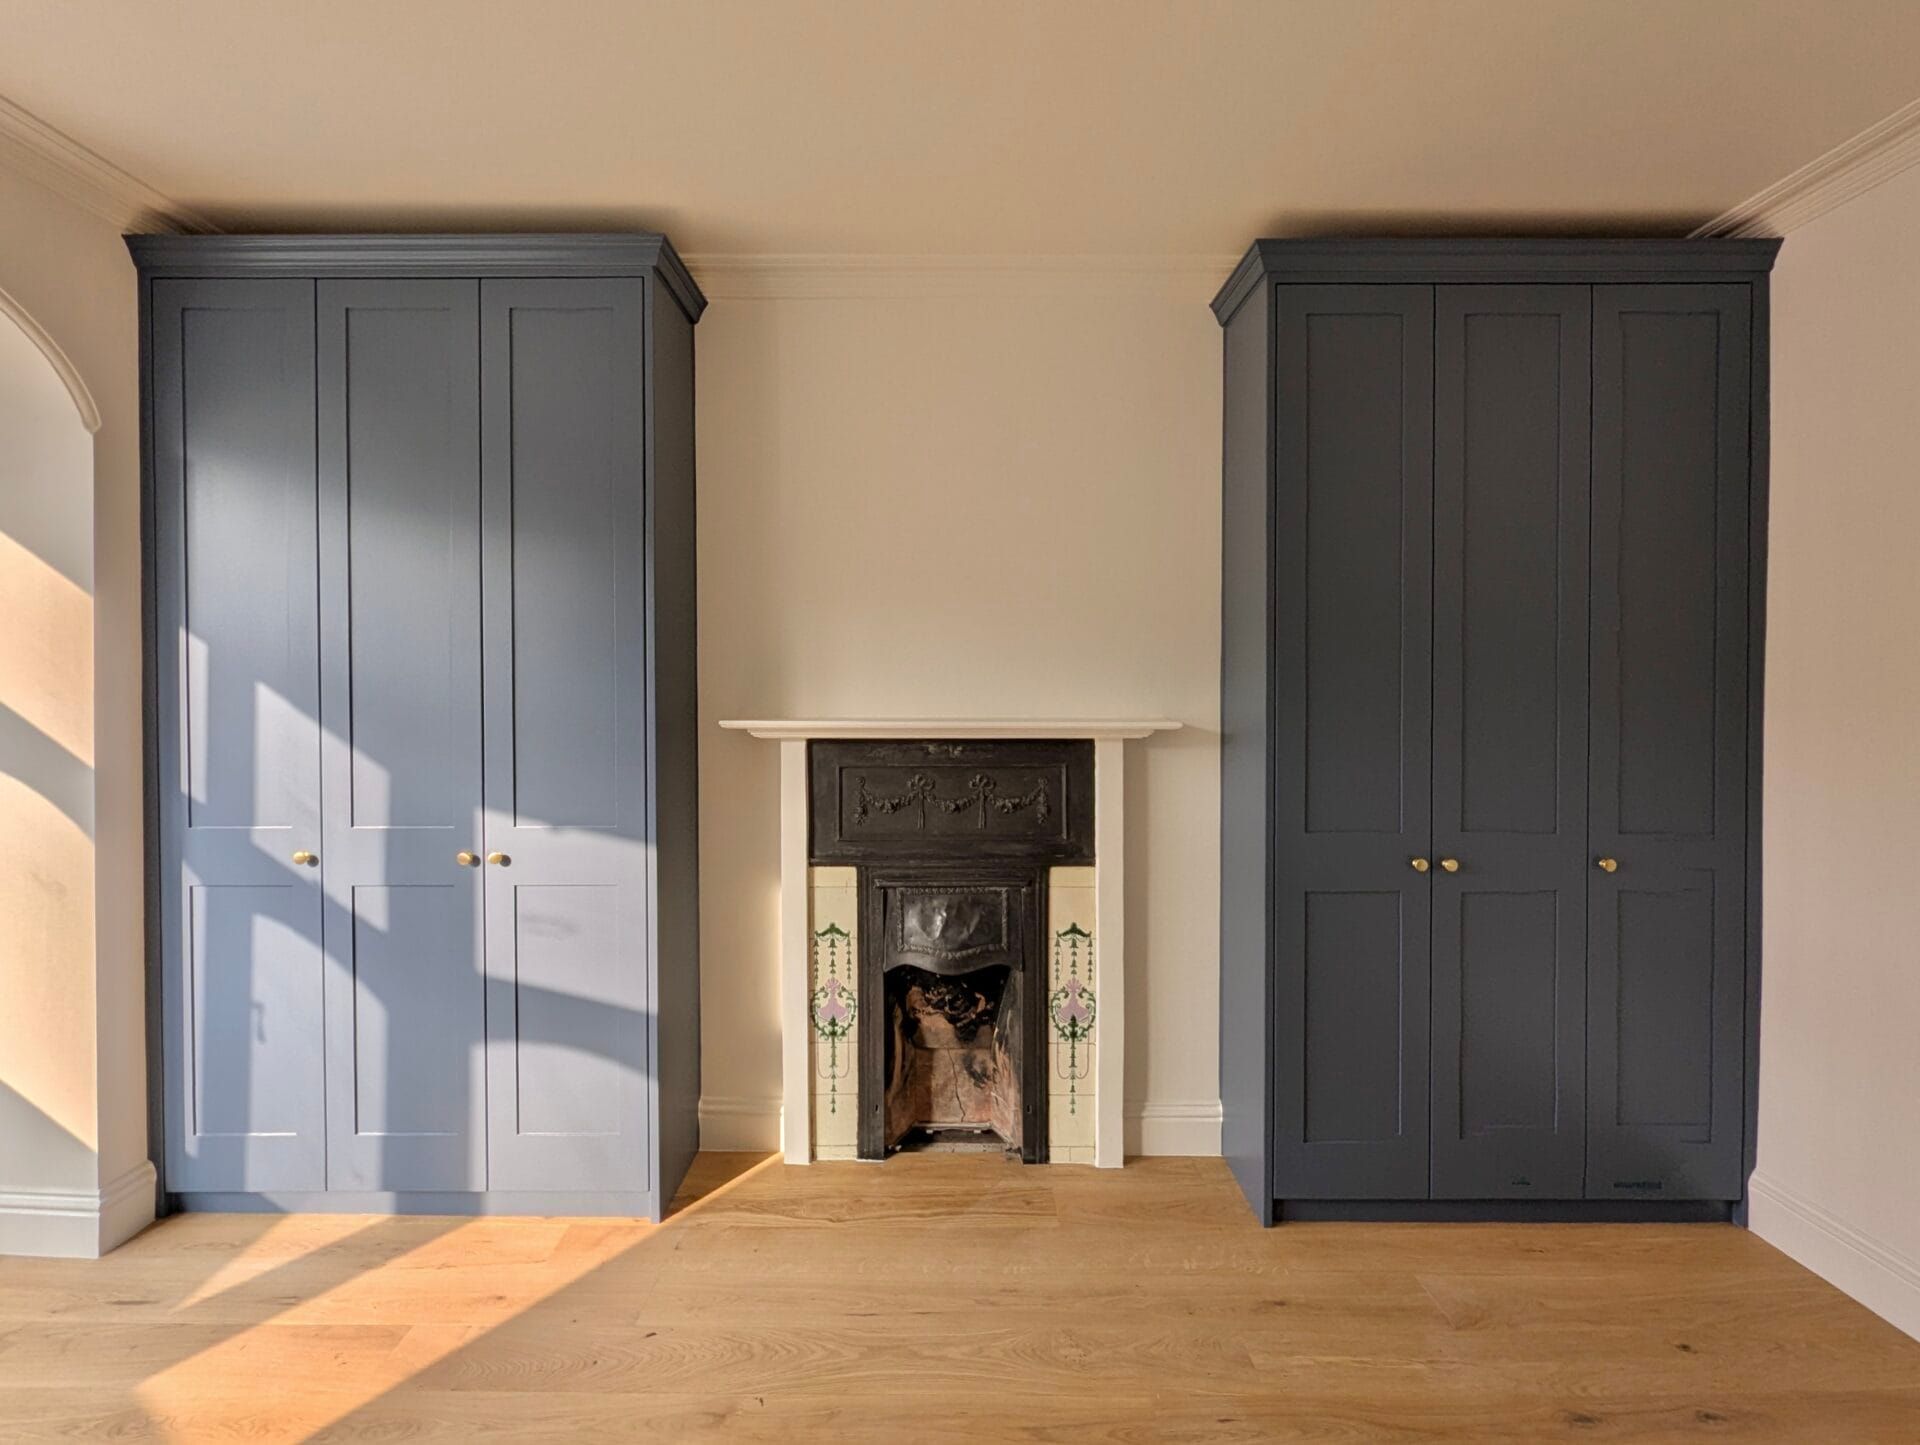
Period properties have architectural details that affect wardrobe design in ways that measurements alone don’t capture. If the room has original cornicing, note the profile style — whether it’s a simple cove, a dentil moulding, or something more elaborate — because the wardrobe cornice needs to relate to it. If there are picture rails, note their height and whether you want the wardrobe to sit below them or run past them. If the window has shutters or sash weights in the frame, note whether these affect the depth of the reveals.
Note anything in the room that indicates the walls may not be straight. A Victorian terrace that has been divided into flats and replastered several times will have walls that are rarely plumb.
Visible bowing, a skirting board that sits unevenly against the wall, a door frame that’s noticeably out of square — all of these suggest that the wardrobe will need to be scribed to the wall surface rather than installed against an assumed flat plane. Noting these things doesn’t mean you need to solve them; it means the designer comes prepared.
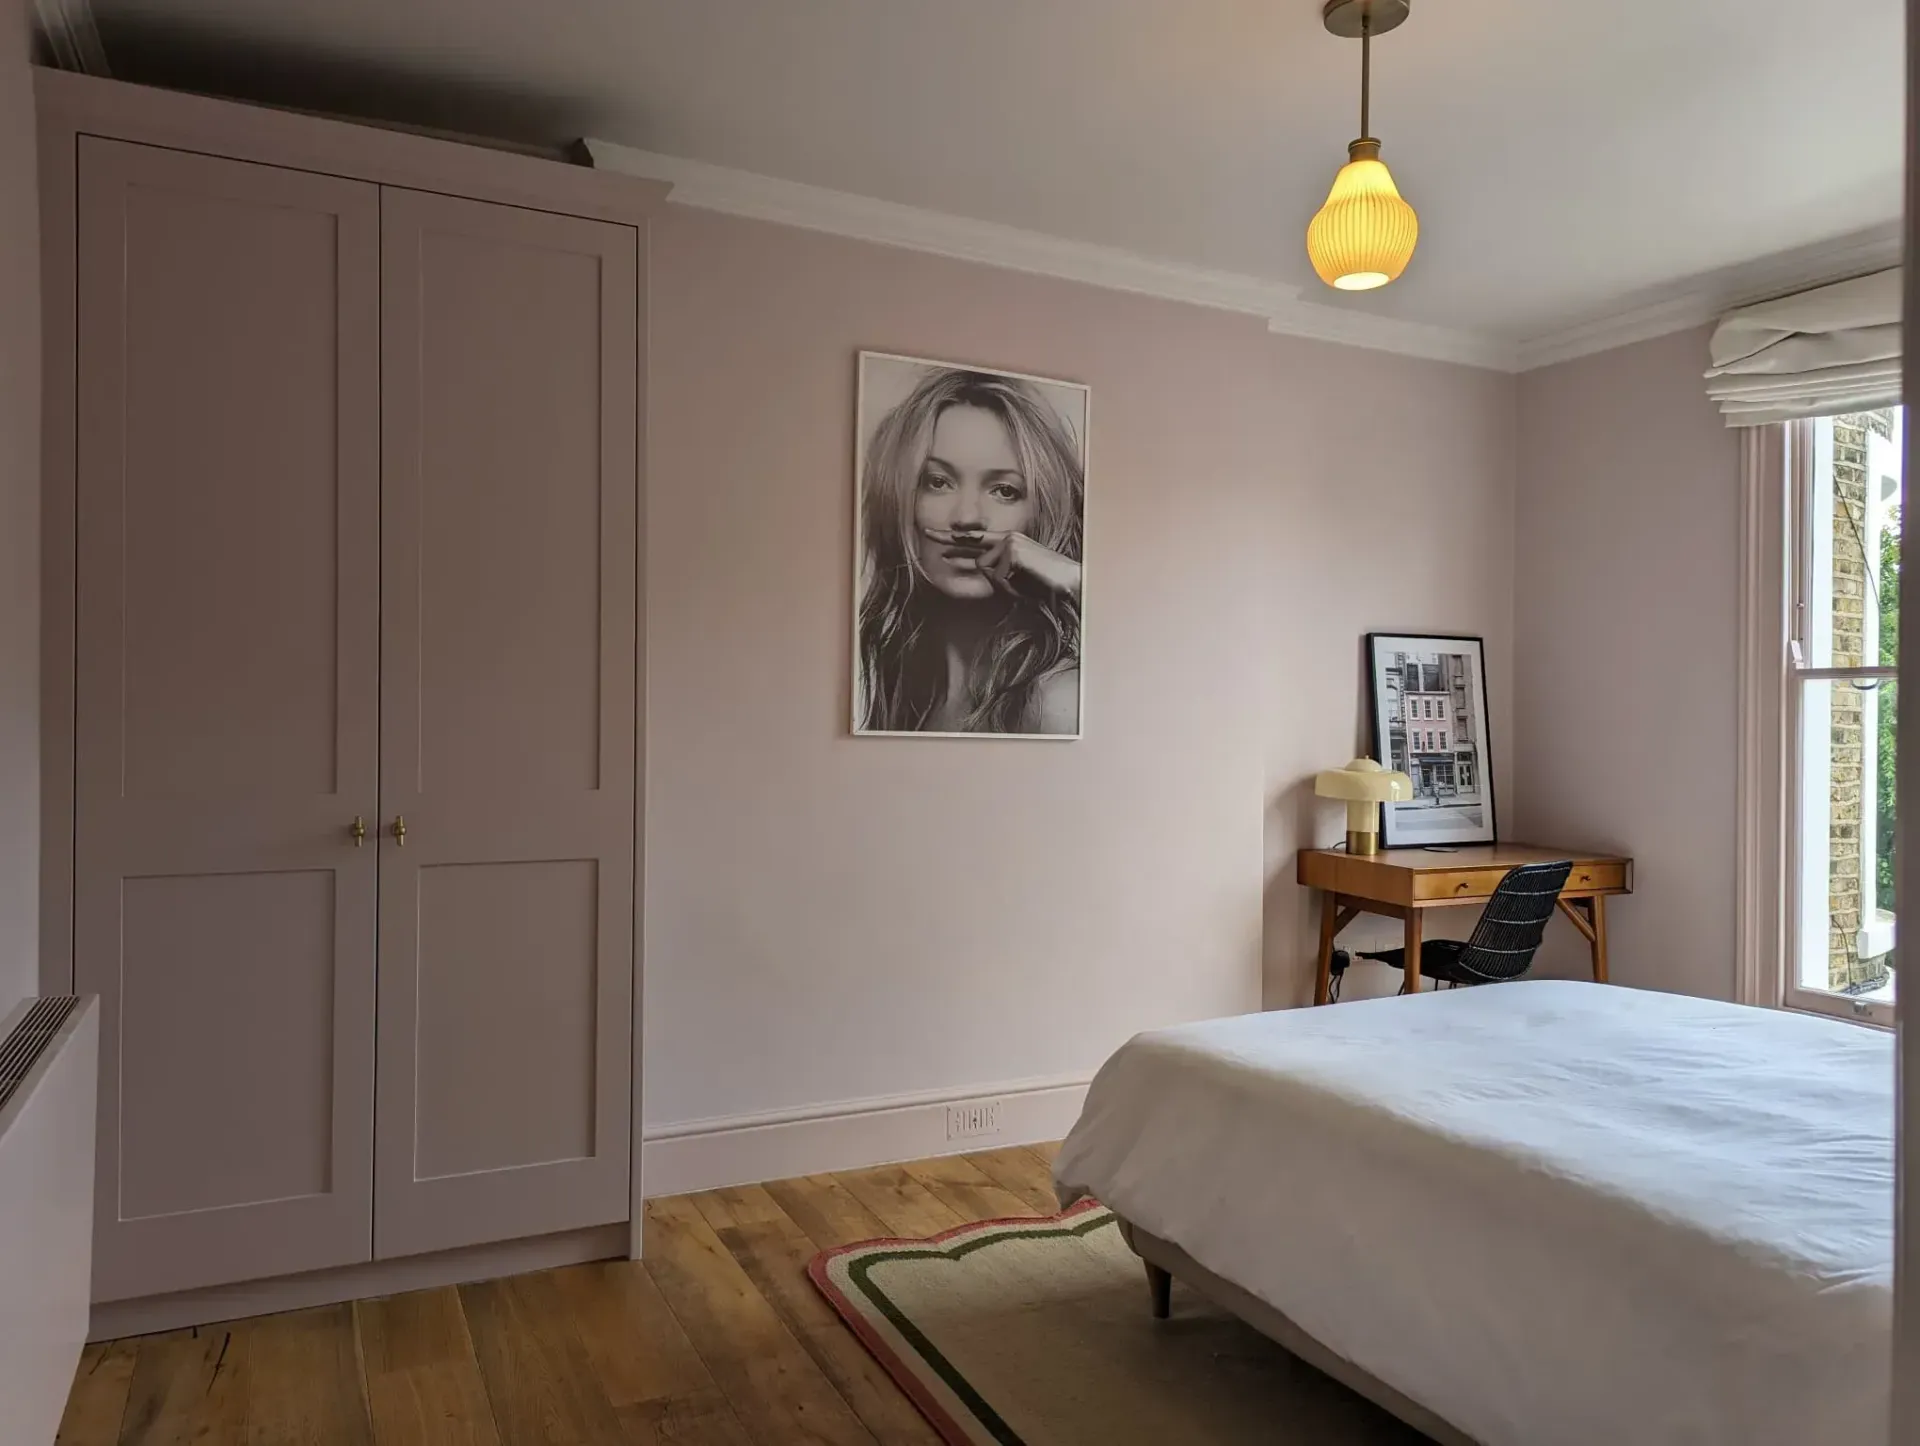
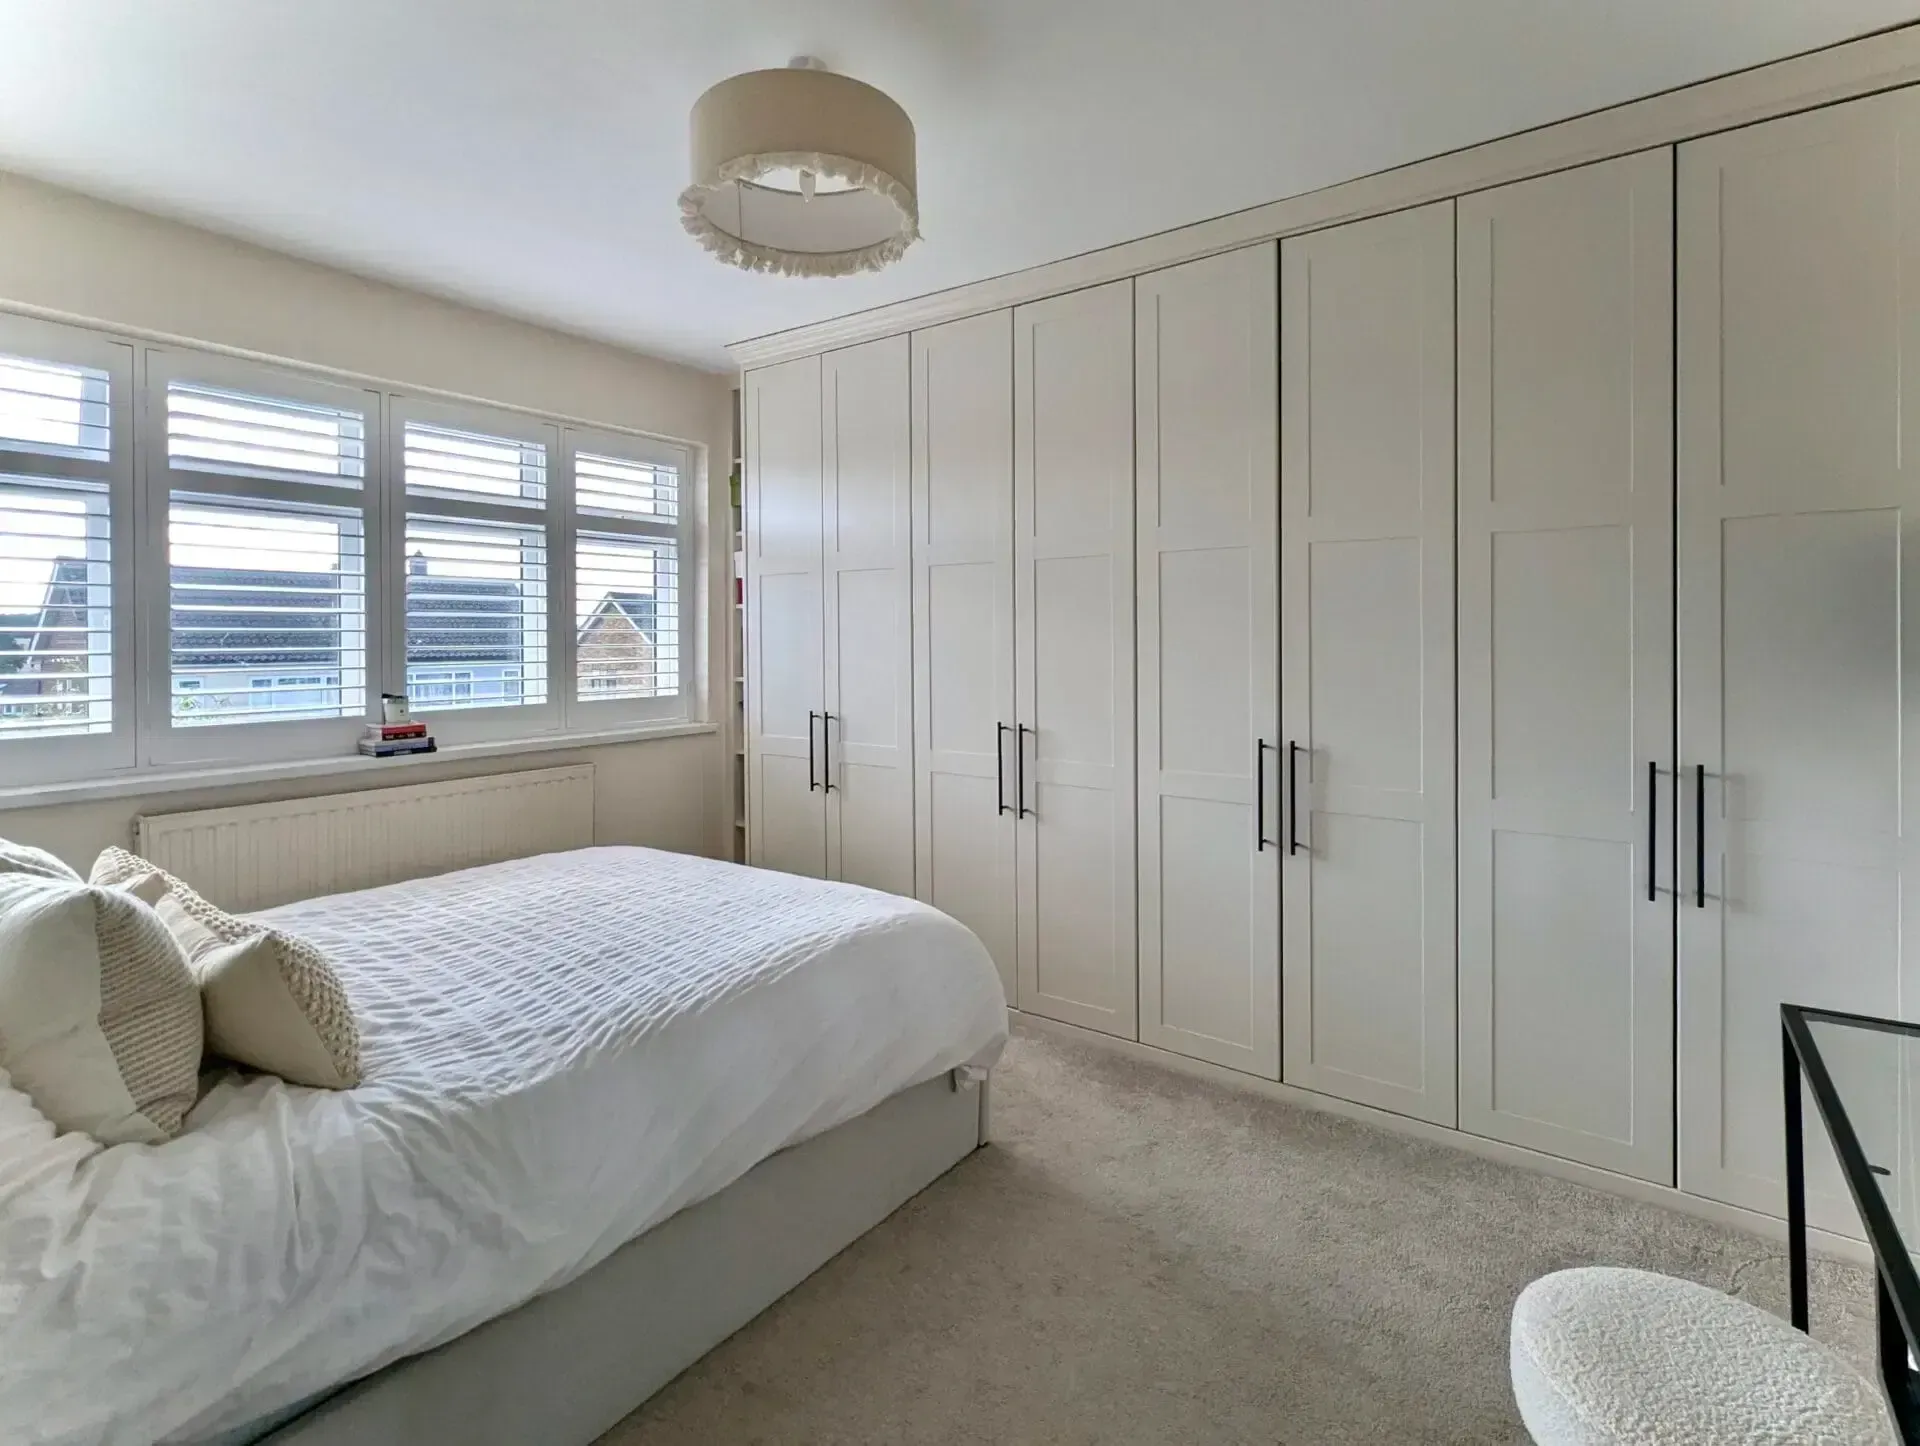
If you have a style preference — shaker, modern handleless, painted in a specific colour, with an oak interior — write it down or bring examples. A screenshot from a website, a page torn from a magazine, or a photo taken in a friend’s home is a far more precise communication tool than describing a finish in words. ‘Something quite clean but not too minimal’ is vague. A photograph of the exact aesthetic you’re after is not.
What Humphries Cabinets Offers
At Humphries Cabinets, every project begins with a free design consultation that includes a thorough professional survey. The designers are experienced in London period properties, loft conversions, and modern flats, and can work around unusual room shapes, sloped ceilings, and architectural details. Full 3D drawings are produced before any commitment is required. See Fitted Wardrobes, Wardrobe Interiors, and Lofts Wardrobes, and contact us to book your free design visit.
Frequently Asked Questions
Do I need professional measuring equipment before a design consultation?
No. A standard tape measure is sufficient for the preparatory measurements that are useful before a consultation. The designer will take their own precise measurements using a laser level and professional equipment during the design visit — your pre-visit measurements are a reference point for the design conversation, not the basis for the final drawings.
What if my room has walls that aren't straight — how do I measure that?
Measure the wall at three heights: at floor level, at mid-height, and at ceiling level. If the three measurements differ by more than 10mm, the wall has a noticeable bow or lean. Note the measurements and their positions and flag this to the designer. In period properties, non-plumb walls are the norm rather than the exception, and a good joinery company designs for the actual wall surface rather than assuming a flat plane.
Should I clear the room before the design visit?
You don't need to, but having the wardrobe wall as clear as possible helps the designer take accurate measurements and assess the space. If there's an existing freestanding wardrobe against the wall being measured, it's helpful to move it aside or at least note its dimensions so the designer understands what the wall behind it looks like.
Are photos taken on a phone camera good enough for a designer to work from?
Yes. The camera on a modern smartphone is more than adequate for the kind of reference photos that are useful in a design conversation. What matters is what you photograph and from where, not the camera quality. Wide-angle shots from doorways or corners that show the full wall and its context are more useful than close-up shots of individual details.
What if I don't know what style I want?
Bring examples of things you like — photographs from magazines, websites, social media, or friends' homes. You don't need to have a formed view before the consultation; that's partly what the designer is there to help you develop. But examples give the designer a clearer picture of your
How do I measure a room with a sloped ceiling?
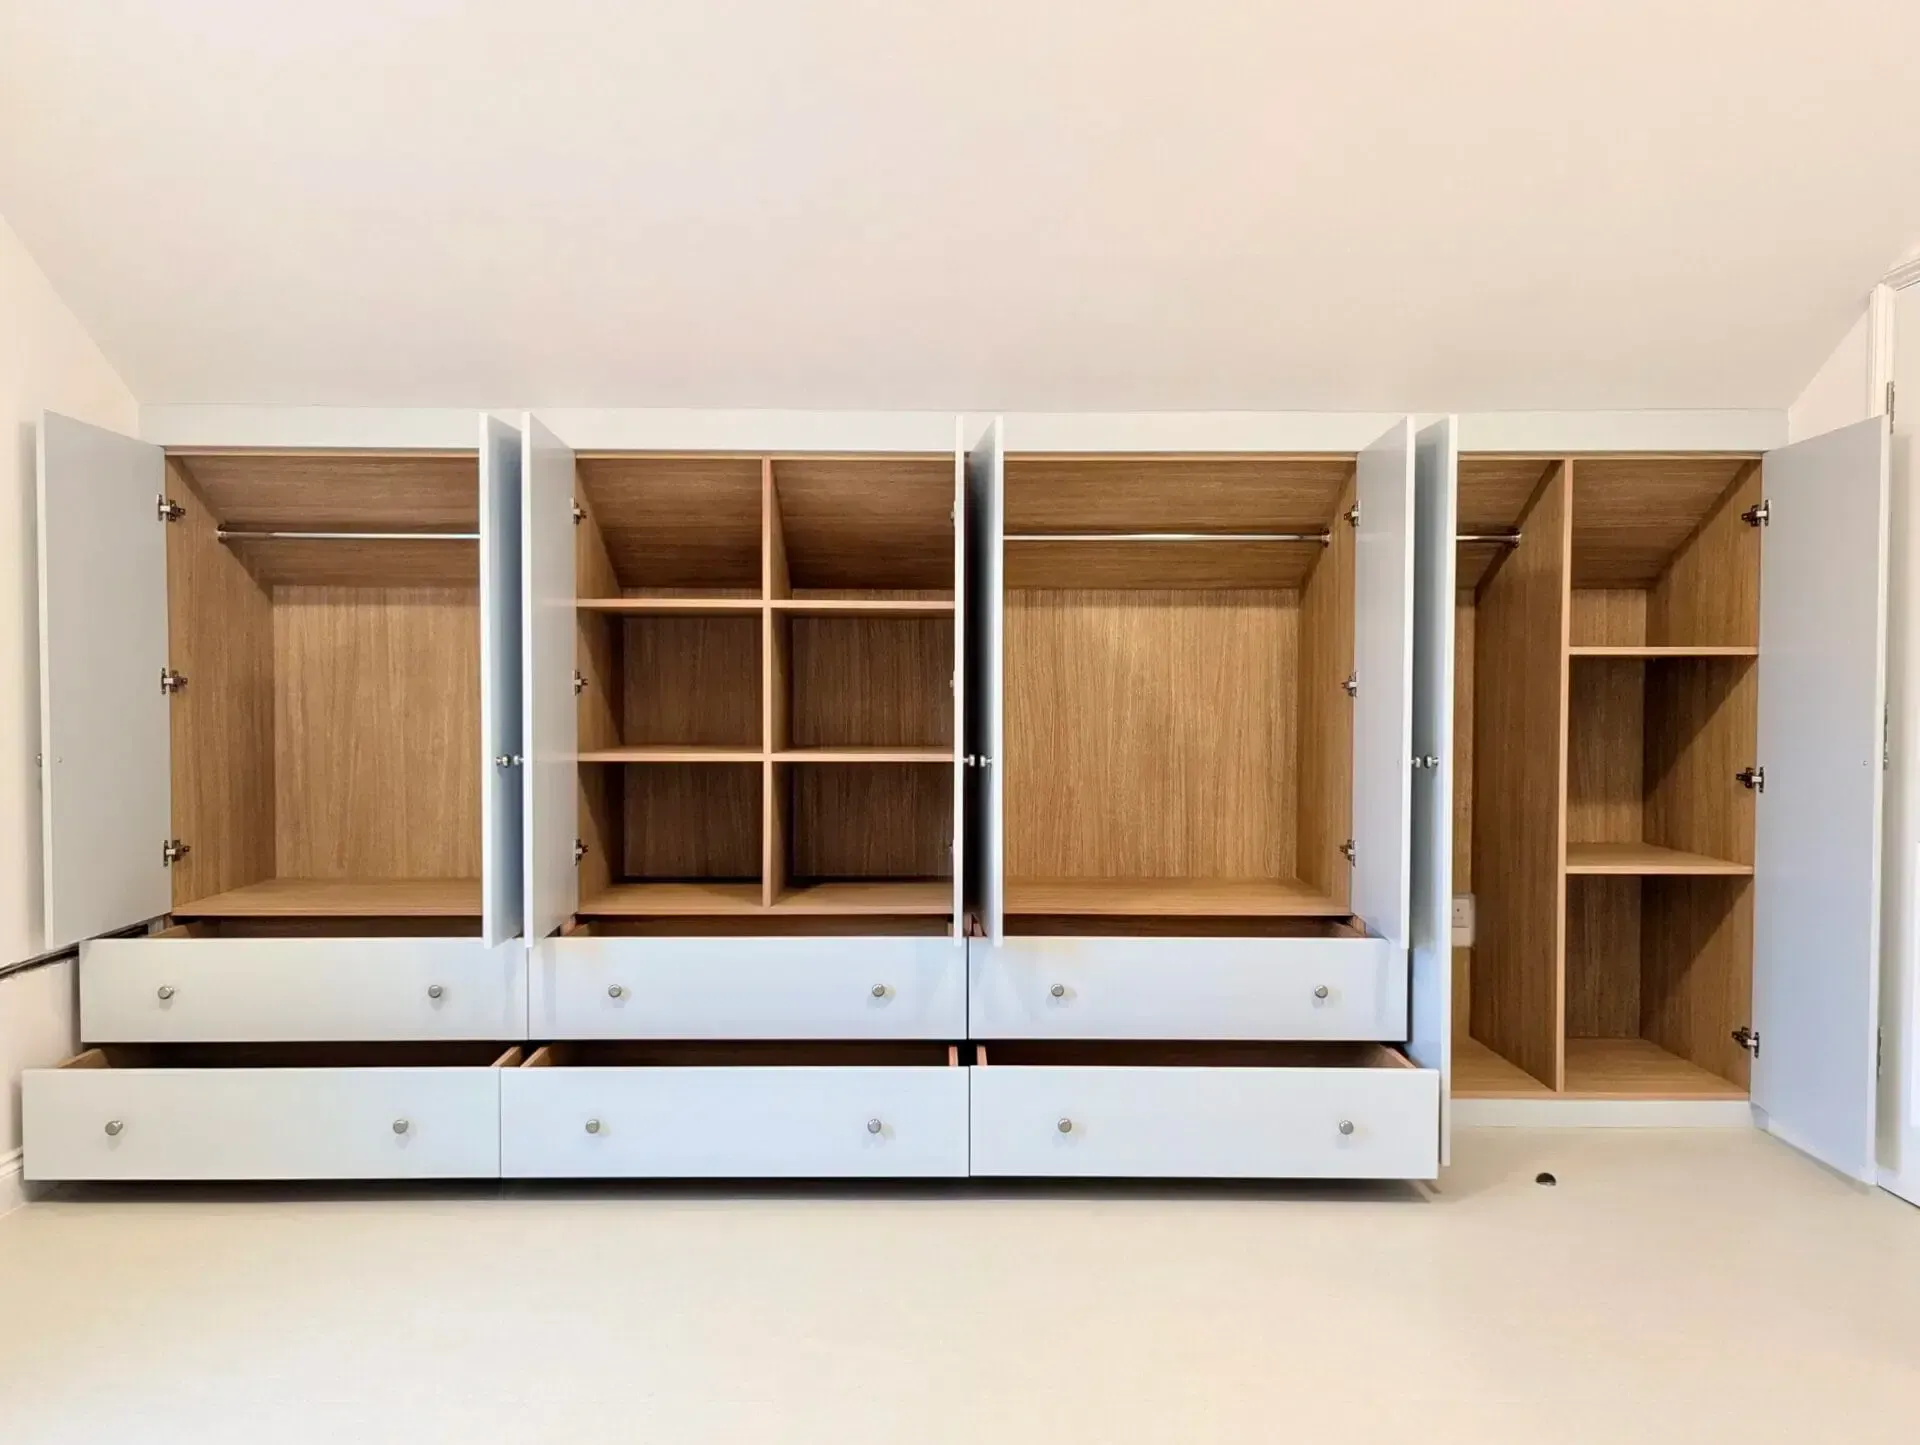
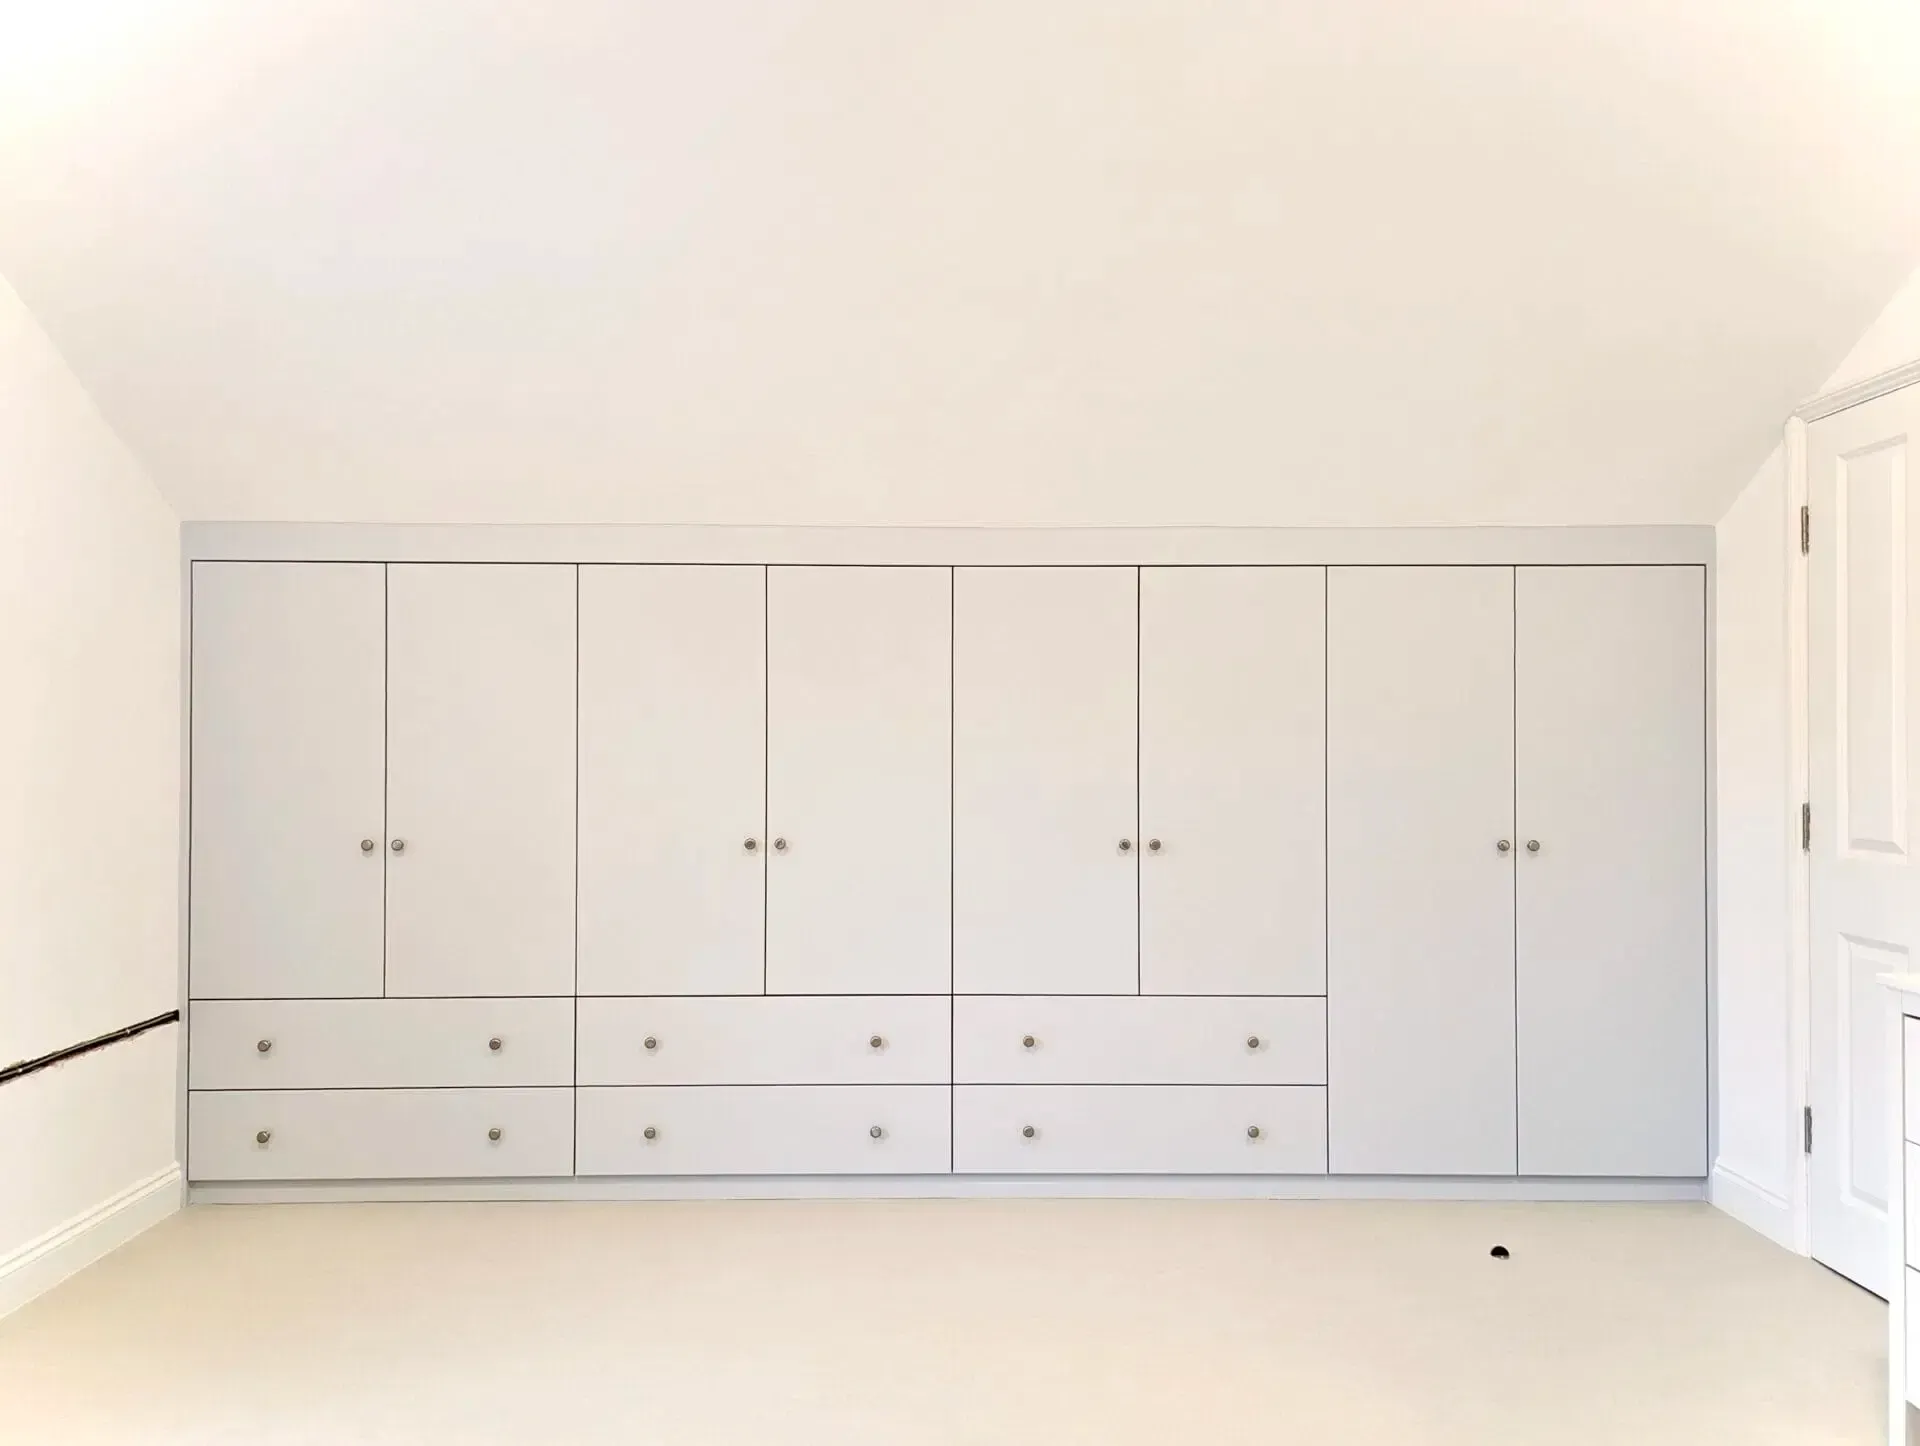
Measure the ceiling height at the highest point (typically at the wall opposite the slope), at the point where the slope begins, and at the lowest point of the slope. Also measure the horizontal distance from the top of the slope to the eave wall. These four measurements give the designer the geometry of the sloped section and allow them to design a wardrobe that follows the ceiling profile correctly.
Does the designer charge extra if they have to come back for a second visit?
At Humphries Cabinets, the initial design visit and follow-up consultation are both included in the free design process. If a second site visit is needed — because the room wasn't ready for measurement at the first visit, or because you want to discuss revised drawings in the space — this is accommodated as part of the service. Ask any company you're considering whether additional visits carry a charge.
Why Choose Humphries Cabinets
Getting the sequence right around a house move or renovation doesn’t require a project manager — it just requires starting the fitted furniture conversation early enough and understanding what needs to happen before the final measurements can be taken. At Humphries Cabinets, that conversation is part of every consultation, and the team has enough experience in London renovation projects to guide you through the timing without adding complexity to what’s already a busy process.
Contact Humphries Cabinets to arrange your free design visit and talk through the right timing for your project.